Accurate Automated Measurement Integral to Industry 4.0
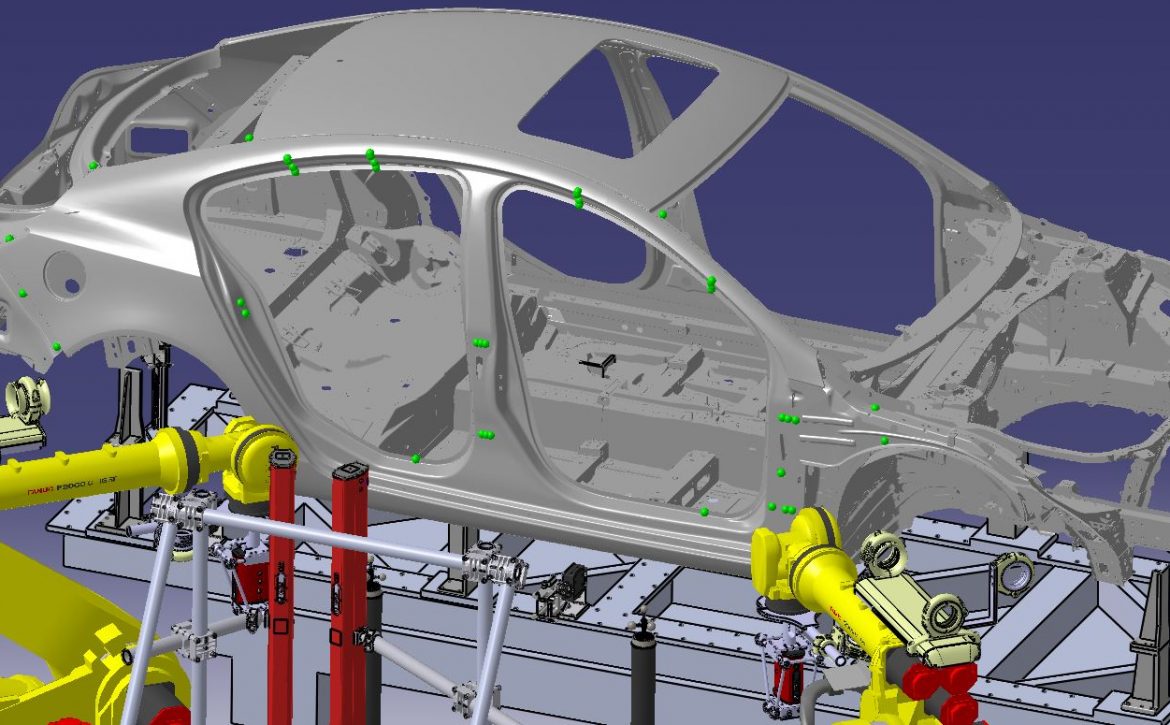
Automated measurement for automotive body dimensional control was introduced in the mid-1980s by Perceptron with the invention of cost-effective, non-contact laser optical sensors and image processing techniques. This innovation combined with newly available CPUs, data storage, and graphical user interfaces enabled non-contact, 100% measurement of critical checkpoints on every assembly produced. The new automated measurement paradigm was an alternative to sampling at off-line gauges and Coordinate Measuring Machines (CMMs). The 100% sampling provided data insights for process control strategies 25 years before this was considered a critical element of Industry 4.0.
Surprisingly, while the use of off-line gauges in the automotive body shop has greatly diminished, the use of CMMs has persisted. To a large degree this is due to the desire to have traceability of the automated gauges, but also due to the CMMs' more dependable accuracy and flexibility. However, recent breakthroughs enabling traceable accuracy and efficient programmability of automated measurement cells has finally closed the gap. Traceable, flexible, and efficiently programmable, the new generation of automated measurement is now deployed in-line, near-line, and off-line in the body shops and at tier suppliers. In 2020, led by Perceptron, automotive manufacturers and suppliers are now realizing the full potential of automated measurement as the principal measurement standard and an integral part of their industry 4.0 initiatives.
Download Complete White Paper


